 Honestly, US spec headlights are not attractive on many cars, which made this galant not so attractive.
I don't believe this version was brought over for the VR4 configuration.
So some appeal was lost there. The motor offered was the 2.4l with FWD.
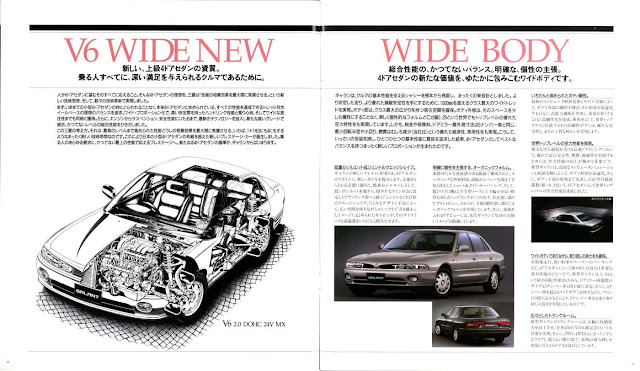
Here is the typical looking US spec Galant.
Here are some Galants from Asia, notice the headlights are different and gives it a better look. Also, in those countries, the aftermarket was healthy for parts.
Very clean looking Galant.

Here is write up for JDM headlight conversions from thegalantcenter.org
USDM Wiring Removal/Beginning Procedure:
1. Locate your USDM headlight wiring under the hood
2. Find the connector and unplug it from the car harness
3. Using your wire cutters cut the red/pink, blue, and black wires so you have enough to play with (about 2-3" from the connector).
4. Take the USDM wiring with connector out of the car.
5. Strip about 1" of insulation off the 3 wires
6. Get your JDM wiring and strip about 1" off the 5 wires
JDM LowBeam/Highbeam Wiring Procedure:
Outter Light
LOWBEAM: Red wire with white stripe to red wire on connector.
HIGHBEAM: ALL red wire to blue wire on connector.
GROUND: Red wire with blue stripe to black wire on connector.
Inner Light
HIGHBEAM: ALL red wire to blue wire on connector.
GROUND: Red wire with blue stripe to black wire on connector.
City Lights and Parking Lamp: Tie the city light wire and your parking lamp wire together, crimp it using a splice, insert the chassis parking lamp wire into the other end, crimp it.
Turn Signal: Crimp the one from the connector and chassis together using a splice.
Ground for Connector: Use the chassis turn signal ground
Ground for Parking Lamp/City Light: Use the chassis parking lamp ground.
the lows are H4 high and low beam
the highs are H1
VR4 (E84A)
This VR4 is a V6 with AWD and turbocharged.


Comments
Post a Comment